jerryy
-
Posts
1,926 -
Joined
-
Last visited
-
Days Won
304
Content Type
Forums
Gallery
Store
Everything posted by jerryy
-
The so called smart adapters are pretty good about giving you very fast auto focus and putting the EXIF information into the file. Some people use other manufacturers’ lenses via the adapter to get great wildlife images, including birds in flight. One such adapter company is Fringer: https://www.fringeradapter.com There are other companies that are well regarded for their adapters, your browser’s search engine should be able to find them. @pw-pix is giving you good advice about the X-T5. It should easily handle all of the situations your message described.
-
You maybe seeing this in French if your browser is set to automatically translate other languages, or you are viewing the site from a place where English is not considered a default language. Normally, many of us would see the postings in English, we see your first couple of postings in French, but @pw-pix nicely translated the first one for us.
-
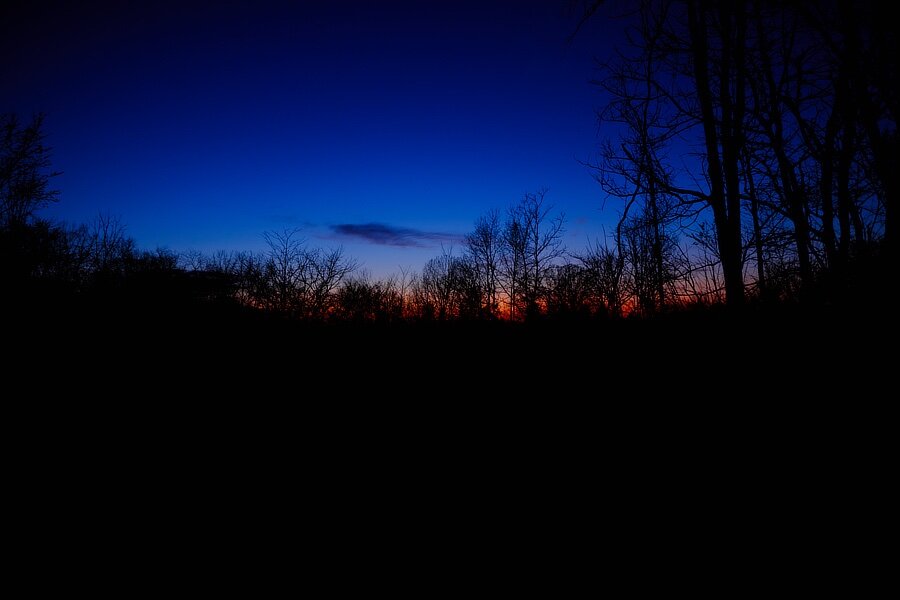
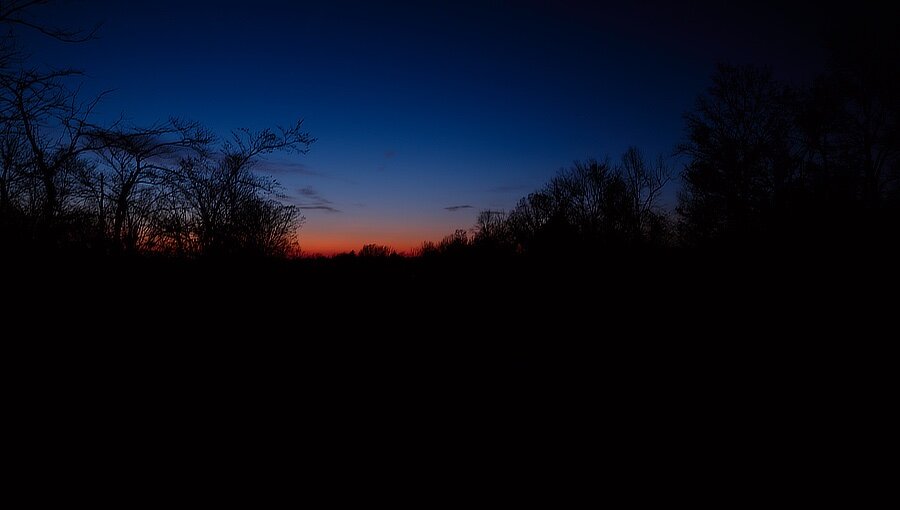
Come back and take a look again in the Fall, especially in the early misty morning. I think you will like what you see. Late afternoon will also be a treat in a different way.
-
Thank you for letting us know. Can you post some images of this in action?
-
I do not think that rubbery looking seal on the side is actually a cable channel cover, but is instead a seal. If you compare the bottom of the X-T30 to the bottom of the X-T3, https://fujifilm-dsc.com/en-int/manual/x-t30/about_this_camera/parts/index.html vs https://fujifilm-dsc.com/en-int/manual/x-t3/about_this_camera/parts/index.html the X-T30 has the cable channel cover but the X-T3 does not. YMMV.
-
I am not certain this is possible. The X-T3 was meant to be used with an optional vertical battery grip that holds two batteries rather than being tethered via a dc coupler I have read of people leaving the battery door open in order to use couplers, which of course is not a great approach but can work. p.s. Welcome to the forum.
-
He does offer settings for various cameras, including Fujifilm cameras: https://erenjam.com/shop/cinematic p.s. Welcome to the forum.
-
X-T5 allows for only 5 partial stops of shutter speed
jerryy replied to RonJ's topic in Fuji X-T5 / Fuji X-T50
It has worked that way on the X-T line since the X-T1. As @Greybeard mentions, these are fine tunings between each of the speeds listed on the top shutter speed dial. You can set the top shutter speed dial to T and then use a command dial to roll through all of the partial shutter speed stops. But be careful, if you accidentally push the dial in, you will be adjusting settings for other modes. p.s. Welcome to the forum. -
Awesome!
-
Back on Page 4 of this thread is a brief excerpt about Coma Berenices. At the bottom of the constellation lies Messier Object M-53. This is the equivalent of an exposure that is a little less than 17 minutes. A Closer Look on a different day: This is the exposure equivalent of a little more than 45 minutes. NASA used the Hubble and got a pretty good shot of M53: https://science.nasa.gov/mission/hubble/science/explore-the-night-sky/hubble-messier-catalog/messier-53/ About Berenice: https://www.constellation-guide.com/constellation-list/coma-berenices-constellation/

-
@SauveGV and @SimonF, Thank you for your very kind words!
-
https://fujifilm-dsc.com/en/manual/x-t4/menu_setup/connection_setting/index.html The PC Autosave section may have a destination pc set up in it. Alternatively, you can try deleting various wireless connections to get it to stop trying to connect.
-
To go along with this, unless the camera is in full manual mode, the “auto” algorithms will notice sensor changes caused by rotating the lens’ aperture ring and make adjustments to other settings, most likely adjustments to the shutter speed. The f-stop is changing, but not being recorded. Try setting the iso and shutter speed manually, you will have to remember what you put the f-stop setting to though. p.s. Welcome to the forum.
-
How to |Batch Convert HEIF to Jpeg
jerryy replied to tywanda46's topic in Fuji X-H1 / Fuji X-H2s / Fuji X-H2
To follow up on that: https://www.macrumors.com/how-to/batch-convert-images-to-different-formats-using-macos-preview/ You may like the results imagemagick gives, here are some helpers: https://imagemagick.org/script/convert.php https://stackoverflow.com/questions/30414346/batch-command-for-imagemagick-to-convert-all-files-in-a-directory-and-sub-direct p.s. That raw file format is looking pretty good about now, eh? 😀😀 -
Hopefully the weather will let you get some fun time outdoors for this. You might get several tries: https://starwalk.space/en/news/upcoming-comets
-
Autofocus Problems on X-Processor 5 Cameras After Firmware U
jerryy replied to Ewelina Czosnek's topic in General Discussion
Your message posted in Polish: But @pw-pix was kind enough to translate it for us.
- 12 replies
-
- 1
-

-
- autofocus
- x-processor5
- (and 1 more)
-
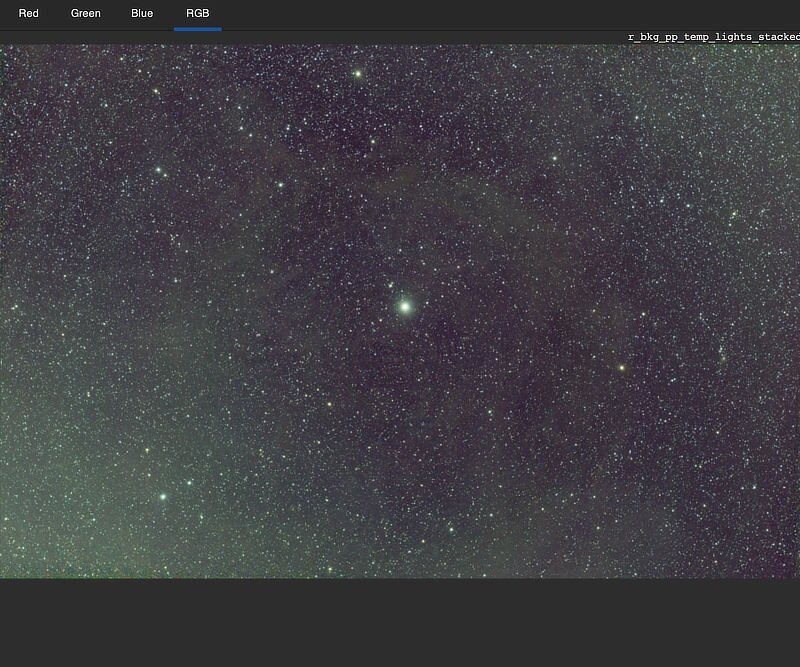
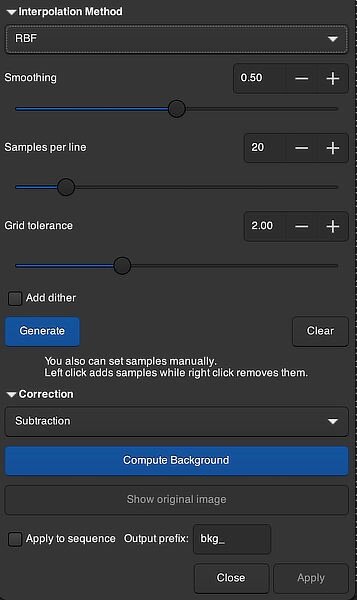
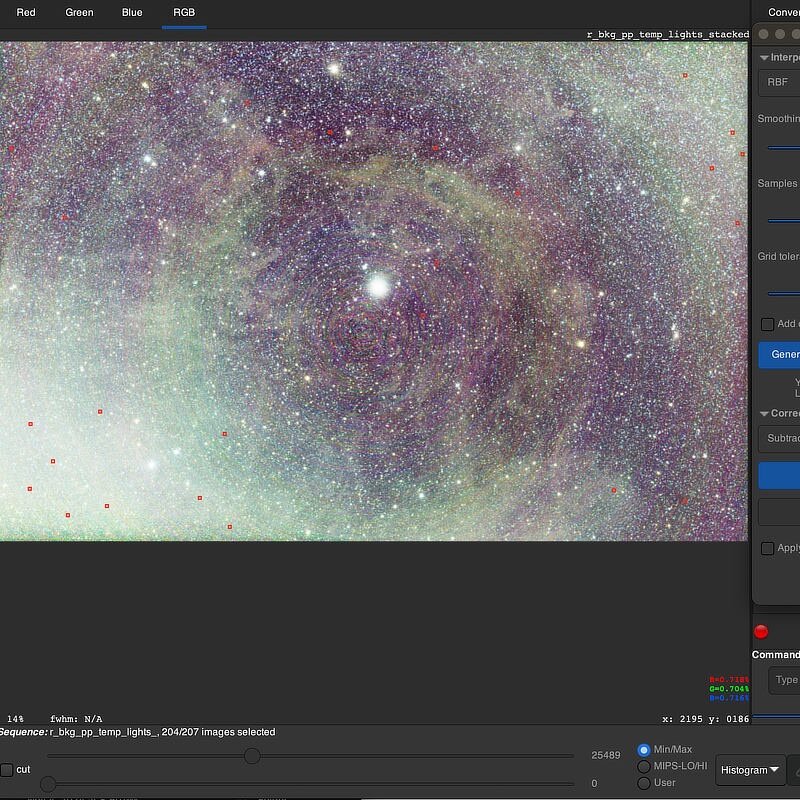
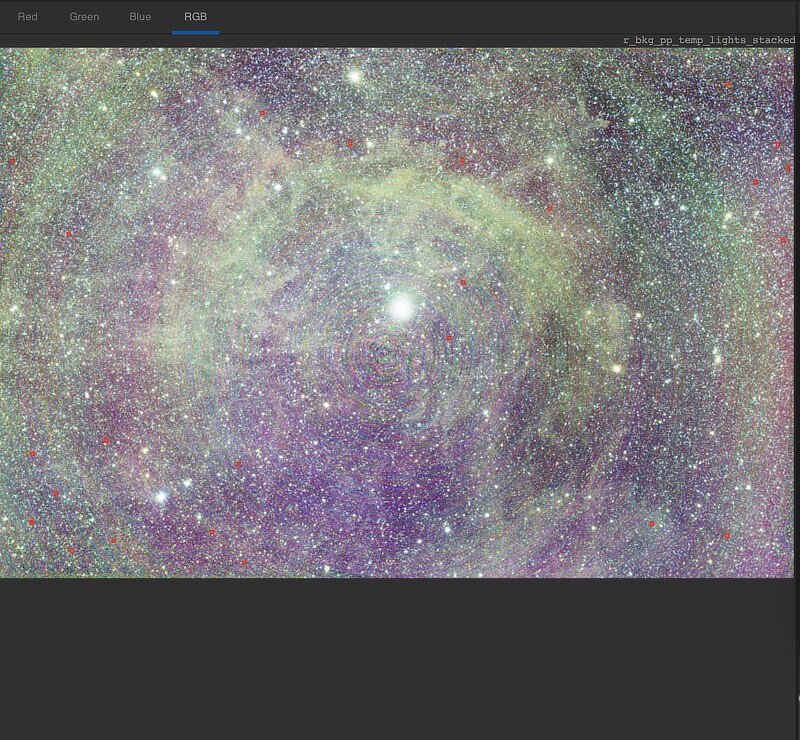
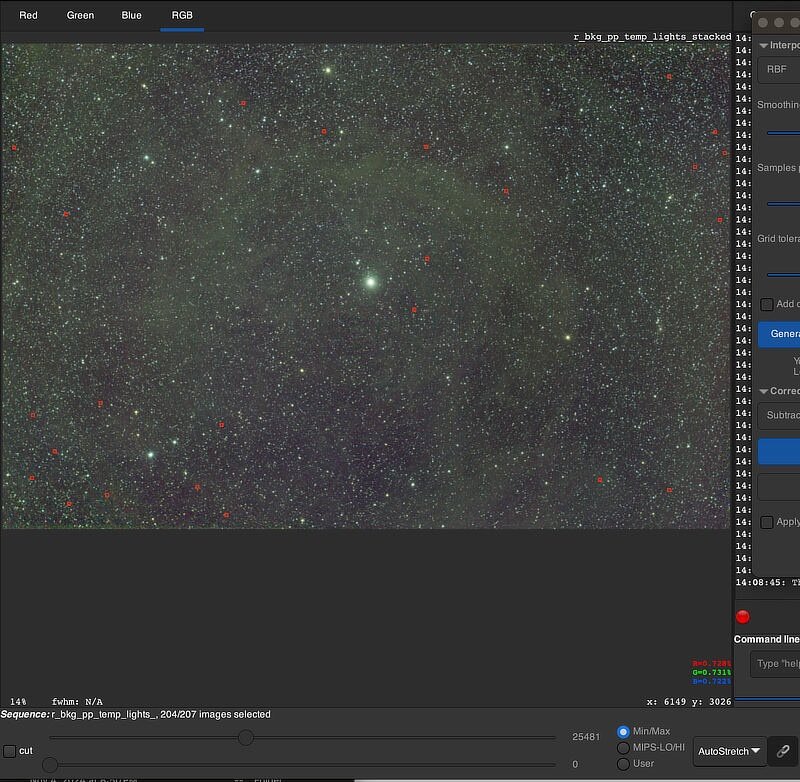
Part Two After stacking, you may find although the light gradient is diminished, there is still a gradient or two or more in your image. As you are tracking the sky object throughout the night, gradient sources can change, sources may wander in and out of your region of interest or your lens' field of view. After stacking, you can try extracting the background, again using a degree one polynomial or a higher degree polynomial to diminish more complicated gradient patterns. You may have to split the sequence into parts and work on the diminishing the gradient in the parts, putting the sequence back together and then move onto registering and stacking things. Gradients are ... hmm, not nice. (Oh yes, you can get them from bright stars as well, Alnitak is very famous and gives its regards.) But there is a tool you can try before resorting to such measures. Right after stacking, with the view mode in AutoStretch: Open up the Image Processing menu and select Background Extraction... but this time choose the RBF method: Change the View Mode to Histogram and just as in Part One, place some dots where the background should be 'dark". Once you think you have enough dots (a few still goes a long way) click on the Compute Background and take a look: If the image looks okay, click on the Apply button, close the BG extraction window and you are ready to continue on with your regularly scheduled editing and processing. There are plenty of tutorials out there more thoroughly discussing finer points of using these tools, but those are waaaaaay beyond this jumpstart guide, hopefully this is enough to be able to get you going 😀. This is the end of Part Two. Uh, some notes: Save your work and save often! Stuff Happens, Murphy was an optimist. Also, you may have observed there a lot of large-sized intermediate files with the .fit extension littering your folders. The only one you really need, after the project is finished, is the stacked image, its file name should end something like ... _stacked.fit, the other files are intermediate development files and you can toss them. You may want to keep the .raf files in case you want to go back later and try something different.