jerryy
-
Posts
1,926 -
Joined
-
Last visited
-
Days Won
304
Content Type
Forums
Gallery
Store
Everything posted by jerryy
-
You do have some options. https://fujifilm-x.com/global/products/accessories/cp-w126/ The X-T1’s battery cover does not have the rubber grommet that other cameras have so some folks leave the cover open, the battery does not usually fall out 😀, you can connect this to a power bank or ac-dc adapter, just make sure the voltage and amps match up. There are third-party versions of the cp-w126 out there as well. For the X-T1, Fujifilm recommends using the VG-XT1 grip along with the cp-w126, which should help take care of the dangling battery issue. You can pick these up on your favorite auction site. I have not used one, so I do not know if the rubber grommet is there on its battery cover - door.
-
Shutter Priority is what the Canon world calls Tv mode, similarly, Aperture Priority is the same as Av mode. Depending on how you set up the command dials you can use them to change the shutter speed / f-stop similar to the index finger control dial on some Canon cameras. How did you have your camera set-up? There are a lot of ways to adapt those methods over to your new camera. edit: Sometimes leaning on what is familiar helps you learn the new, sometimes it holds you back from trying the new.
-
I do not think you will have much success trying to change the shutter speed or aperture while those settings are set to auto. The auto setting tells the the camera to attempt to get the exposure as close as possible to an ideal setting, so it takes control of the parts that are in “auto” mode and adjusts them accordingly. What will work is Aperture Priority, where you set a f-stop and the camera picks a shutter speed (ss is set to A), or Shutter Priority, where you set a shutter speed and the camera picks a f-stop (aperture is set to A). In either case, if you have set the ISO to auto, the camera will also adjust the ISO within the upper and lower limits you put in the setup menus. I am not quickly recalling which auto settings are acted on in which order. You can overide these some with the exposure compensation dial. p.s. Welcome to the forum.
-
Fuji Bluetooth wireless remote with no external transmitter
jerryy replied to Adrian Nowhere's topic in General Discussion
Welcome. I do not see or somehow just missed the link to your article. Uh hmm, what you are showing is neat, I like the diy solid approach but yeah, Fujifilm has recently released a tripod grip that is a bluetooth remote release. Thanks for showing us this!- 2 replies
-
- 1
-

-
- wireless remote
- bluetooth trigger
- (and 2 more)
-
I cannot get the xt5 command dial to change the aperture
jerryy replied to justinhasadog's topic in Fuji X-T5 / Fuji X-T50
What does the screen show you if you push the dial in and hold it? -
Histogram and Highlights alert issues
jerryy replied to Al Nesbitt's topic in Fuji X-T3 / Fuji X-T30
Starting with the second problem first, go to the shooting menu: SET UP menu > SCREEN SET UP > DISP. CUSTOM SETTING, then scroll down to LIVE VIEW HIGHLIGHT ALERT and make sure this is selected (has a checkmark) save and exit the menu. Try focusing on a lamp or some other brightly lit object that you know will be blown out if you took the photo, crank the aperture wide open and slow the shutter speed way down so that it really will be a very high key image. Okay, the blinkies should be going wild, except in your case they might not. Push the DISP/BACK button a few times. The display (lcd or evf) should change each time you do this, one time it will be a screen full of information with a small image tucked away in a corner, one time it will be only the image with no information and no blinkies, and one time it will be the image with some information and the blinkies will be there. The screen customization options you choose play a big part in these screen offerings. Having Live View or not, that does not matter. One of the display options is called the Exposure Indicator. Turn this one on and pay attention to it as well as the histogram, when it starts pushing past 2, you are getting a lot of white in your image -- okay if you really are shooting high key, but otherwise this means you are starting to blow out the image. The histogram is a good tool, but using it takes practice, especially if you are using the composite one instead of the separate RGB histograms as they take up a lot of space. Sometimes the blown areas will show up only on the far right right side and they might seem like part of the border instead of being a little to the left where they would be more noticeable. Also, using the DR200 or DR400 settings, these underexpose the highlights (while boosting the low end a bit) might help get the shot in some situations. -
Xt-2 won't take pictures/video when shutter is pressed.
jerryy replied to quasi's topic in Fuji X-T2 / Fuji X-T20
Pushing the shutter button, while in review / playback mode, taking you back into shooting mode is a standard feature. It allows you to quickly review your shots to see if you need to make adjustments then get back to capturing images. Your first statement is confusing, has your camera suddenly stopped taking photos? Otherwise, how did you get images to review? -
An external light meter might work as a lesser expensive alternative; though it might seem like you are going back to the film days, they still work. https://shotkit.com/best-light-meter/ edit: Have you considered setting up auto exposure bracketing in the menus or using a manual version of that? It is possible to use that with flash photography either manually by changing the shutter speed while the flash cycles or by getting a flash that fully works with aeb — though I do not work with flash gear often enough these days to make any recommendations as to which ones work best for that approach.
-
You may be able to get it repaired at a camera shop that does repairs. But as far as pricing goes, getting a different body may be less expensive. In the mean time, shooting completely manual while relying on the histogram sounds like it still works. edit: I am guessing that you have tried several shots to make sure the metering does not actually change, to rule out the display icon being stuck.
-
https://fujifilm-dsc.com/en/manual/x-t2/about_this_camera/display/index.html Item 27, on both the evf and lcd displays. It does sound like there is an issue with the switch.
-
Could you give us some more information as to what you are trying to do and how you are trying to do that? Also, are you using the mechanical shutter, the electronic shutter or is the camera set to use both? Which auto modes do you have turned on?
-
Either way you go, your photos will not suffer, both combinations can easily deliver print-worthy images. If your budget is not entirely constrained, maybe toss the 50-140mm lens into the consideration. Is it possible for you to rent the groups for a few days or a week or so and test them to see which combination suits your shooting style, low light handling, focus speed, etc.?
-
You may have one of the focus assist modes turned on and are accidentally causing it to jump in and “assist”. https://fujifilm-dsc.com/en/manual/x-e3/menu_shooting/af_mf_setting/index.html Try pushing the rear command dial in and see if that turns it off, other options are discussed in the listed manual page.
-
Nelson County, Kentucky, USA

-
It is possible to set them to “off” or “none” in the settings menu. https://fujifilm-dsc.com/en/manual/x-t4/menu_setup/button-dial_setting/index.html Scroll down to the section for the command dial settings, you might be able to reset them to something more useful..
-
WHITE BALANCE SOMETIMES IS NOT WORKING
jerryy replied to Daniel Bruhin's topic in Fuji X-T5 / Fuji X-T50
This article has some options for working with white balance settings, maybe one of them will help you: https://fujixweekly.com/2022/12/22/five-fujifilm-x-t5-ai-awb-workarounds/ -
XT30ii - Beginner lens for safari photography?
jerryy replied to auxaurores's topic in Fuji X-T3 / Fuji X-T30
Do not let the “pro” idea stop you from getting the tool you need for the job. Each lens has it’s own learning curve, a 23mm is not less professional than the 50-140mm because it is lighter or has a shorter focal length. You did not mention what type of photos you want to get; landscapes with the notable starring critters being proportionally small, or close up portraits of the critters. The folks leading the safari probably will try to keep you safe, but those critters are not house pets, nor are they zoo pets. Stay safe and keep your distance by using the “reach” longer lenses give you. 600mm with 1.4x or 2x teleconverters will get you those portraits without disturbing the critters. As will 300mm or 400mm or … or any of the longer end of the zoom ranges. Even a 55-200mm lens will work toward that idea. These are not so much “pro” as they are tools that you use to get the photos, some you will like better than others. As far as heaviness goes, put them on a tripod, turn off OIS or IBIS and get the shot. -
There is actually a thin protective glass piece over the sensor. If you have tried using sensor swab cleaners, — these clean the outside of that glass — then you may need to have camera repair clean the inside of the glass. That black thing looks like some kind of dust.
-
There are usually a couple of ways or so to do this, have you tried: Set the shutter speed to “A” and then use the lens’ aperture ring to choose the f-stop. Or Use the command dial for f-stop by way of set the shutter speed to “A” as well as turn the aperture ring to “A” as well and then use the front command dial to change to f-stop.
-
Fish Head Stew This is NGC 896 (also known as IC 1795) The Fish Head Nebula. Fish Head is located just next to the very beautiful Heart Nebula (IC 1805), so close that it looks like it is connected to it. This is the equivalent of a 102 minute exposure. https://www.planetary.org/space-images/ngc-896 https://science.nasa.gov/ic-1795-fishhead-nebula https://science.nasa.gov/heart-heart-nebula
-
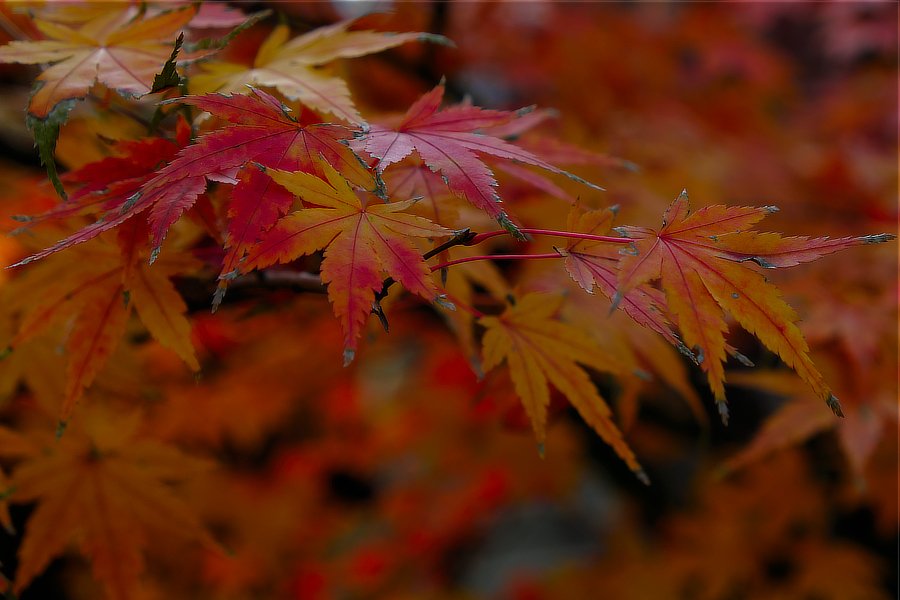
Today is the Solstice. Autumn changes into Winter.