jerryy
-
Posts
1,926 -
Joined
-
Last visited
-
Days Won
304
Content Type
Forums
Gallery
Store
Everything posted by jerryy
-
Kase filters come to mind: https://kasefiltersusa.com/ They also have sites based in other parts of the world. Cyclopsoptics has some specialized stuff. If you take a few minutes with your favorite search engine, you can probably find similar categories of filters in other places.
-
Give the instructions in that link a try and see how they work for you. I have some confidence you can get it working, after all, you have the ability to record, edit and post a video listing your efforts so far, that is far more difficult than clicking on a layer mask and painting in an area.
-
Okay, now you can edit the layers’ mask to fix the bad areas. Here is a quick reminder of how to do that. https://helpx.adobe.com/in/photoshop/using/editing-layer-masks.html In essence, you find the layer that has the stuff you want to keep and paint that layer’s mask white — only in those areas you want to keep —- and make sure the layers above that one have their layer masks painted black in those bad areas to let the correct lower layer to show the fixed part. This part is basic layer masking and editing. You may need to refer to some tutorials to help you along.
-
I found several tutorials like these https://www.photoshopessentials.com/photo-editing/focus-stack-images-photoshop/ https://photoshopcafe.com/focus-stacking-photoshop-tutorial/ which give you a more step by step approach. These create layer masks for each file being used — this approach is still mostly automatic, but you have more control over everything. Because you have access to the layer masks, you can use the usual edit masks stuff to get rid of any bad areas. p.s. Your files are fine, once the merging is nailed down your final images should also be fine.
-
Does PhotoShop give you a way to fix those glitches?
-
I think the author is saying in that article a couple of things, use good files from the start and secondly, these automated processes are not completely foolproof, sometimes the result is not perfect and you just need to be able to fix the problem spots. Quite possibly, Lightroom has a way to allow you to fix any problems you encounter similar to how Affinity Photo give you the option.
-
I downloaded folder one and ran it through Affinty Photo's Focus Merge -- their name for their version of automated focus stacking and using the very basic instructions found here: https://digital-photography-school.com/how-to-focus-stack-in-affinity-photo/ I came up with this: Other than doing that and resizing it for uploading here, I did no editing such as exposure changes etc. From what I can see, the files are okay, though a couple of them are very soft in all regions, so if you toss those out before trying to stack, you may have better results. -- Using blurry photos in stacking, results in blurry final images. Essentially just use images that have a region in focus. (Note: I used Affinity Photo version 1, and of course Serif released version 2 today, so folks will have to get that one now as version 1 is apparently no longer for sale.)

-
Do you have samples from the original images used in the stacking? If you post those, it will be easier to see where / when the issues pop up. Maybe post the problem section from one image and from the images used to make the stacked final image.
-
-
Item 15 (Number of available frames) tracks that only in reverse order, as in, if you format a card, that number represents the count of how many images you can take given the current settings you are using (raw+jpeg vs raw only, size, etc.) As you take more images, that count becomes fewer and fewer. The Image transfer Status is related to copying images over to another device such as a computer using the wireless connections. https://fujifilm-dsc.com/en/manual/x-t4/about_this_camera/display/index.html
-
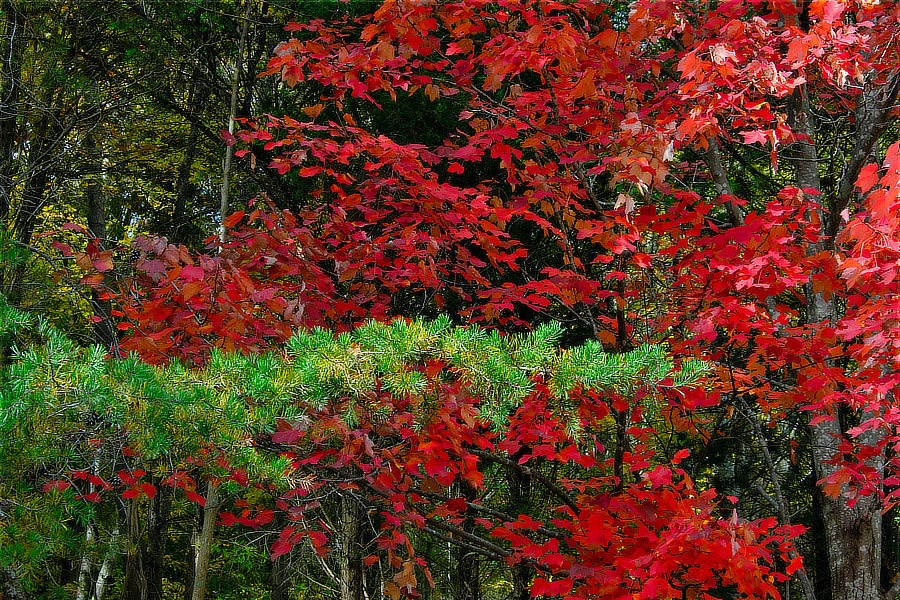
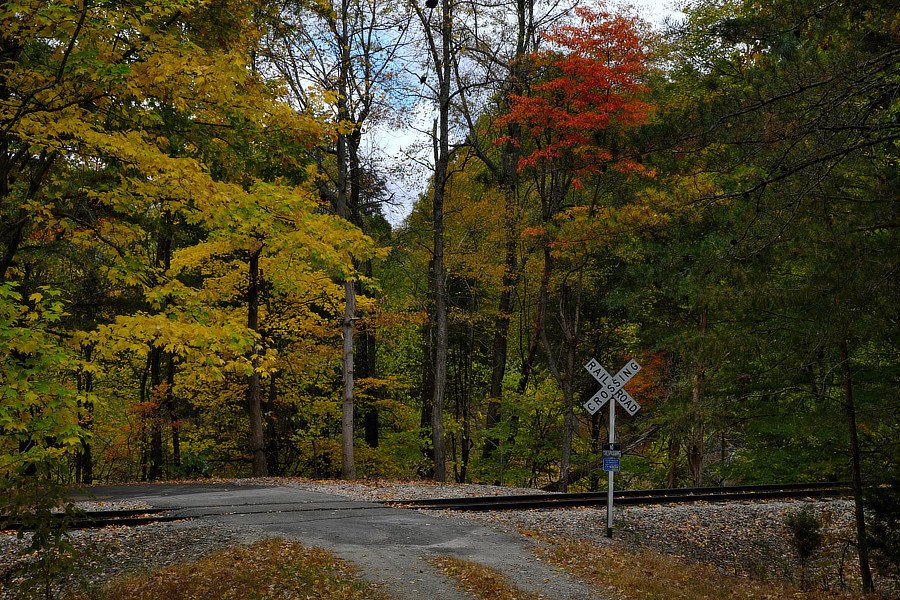
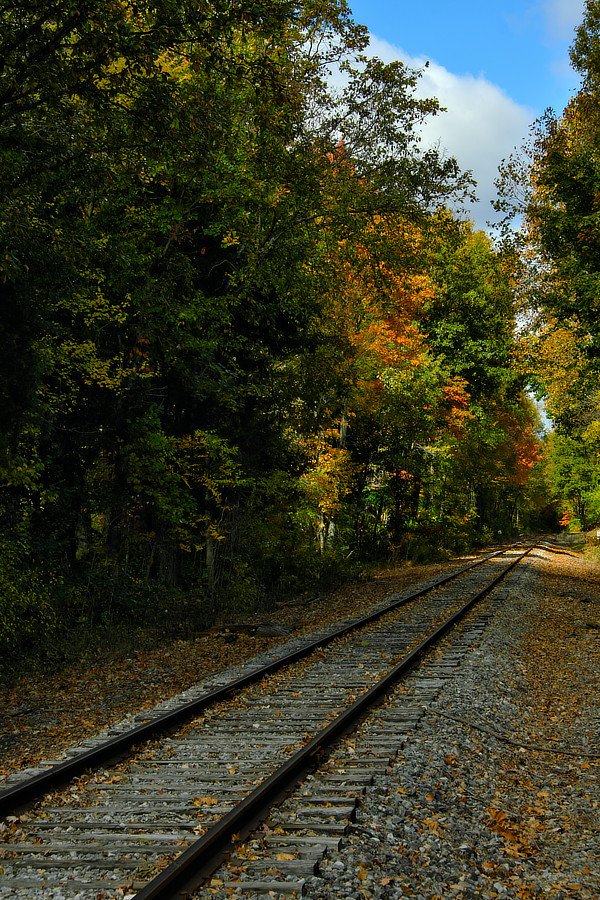
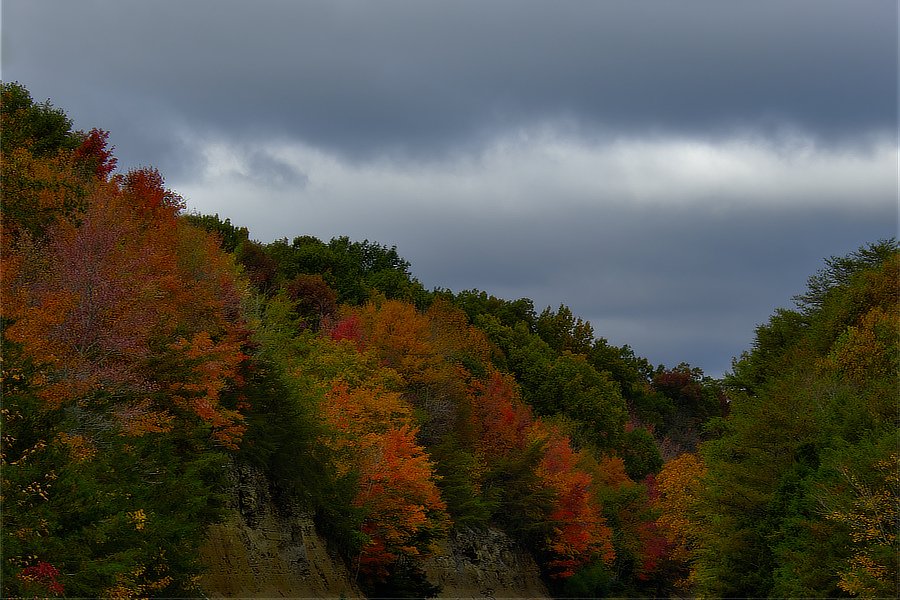
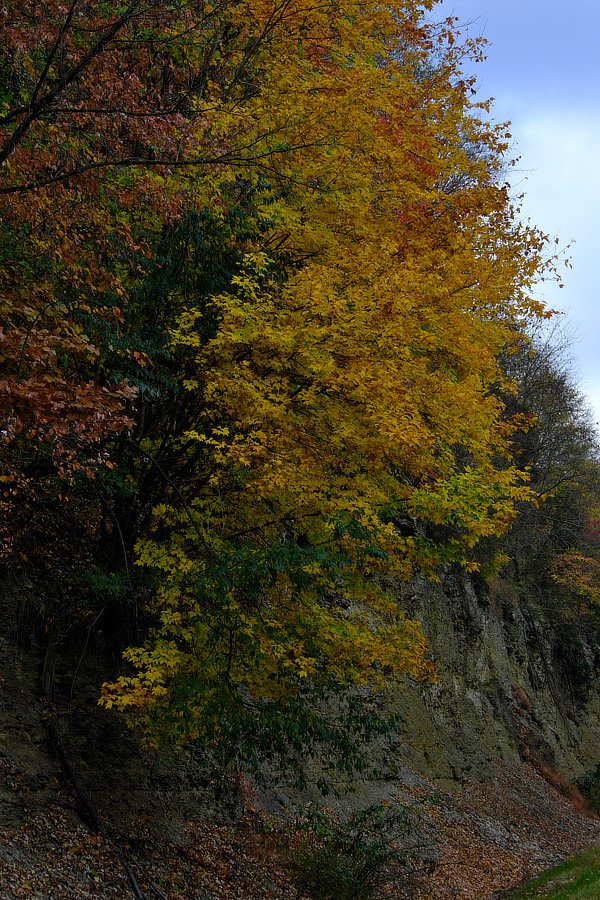
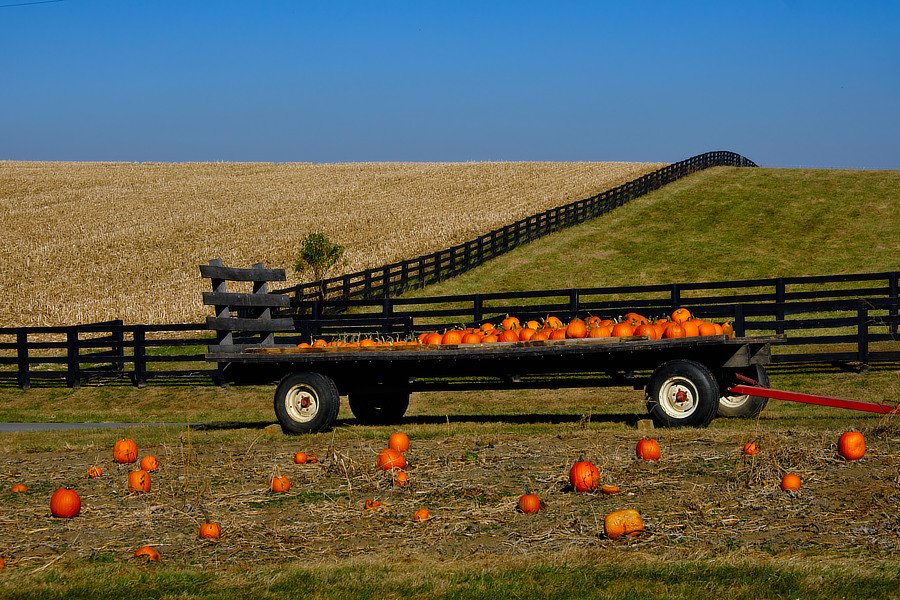
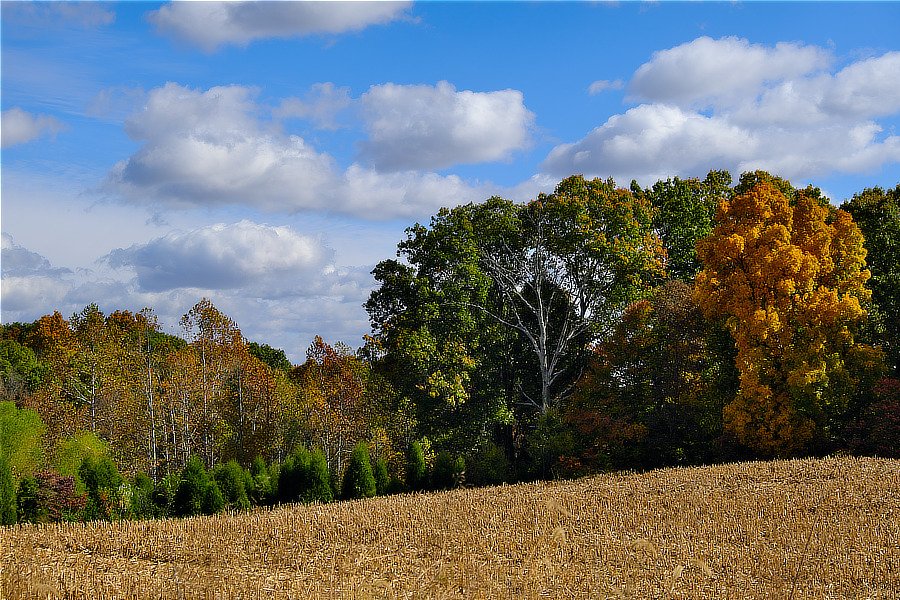
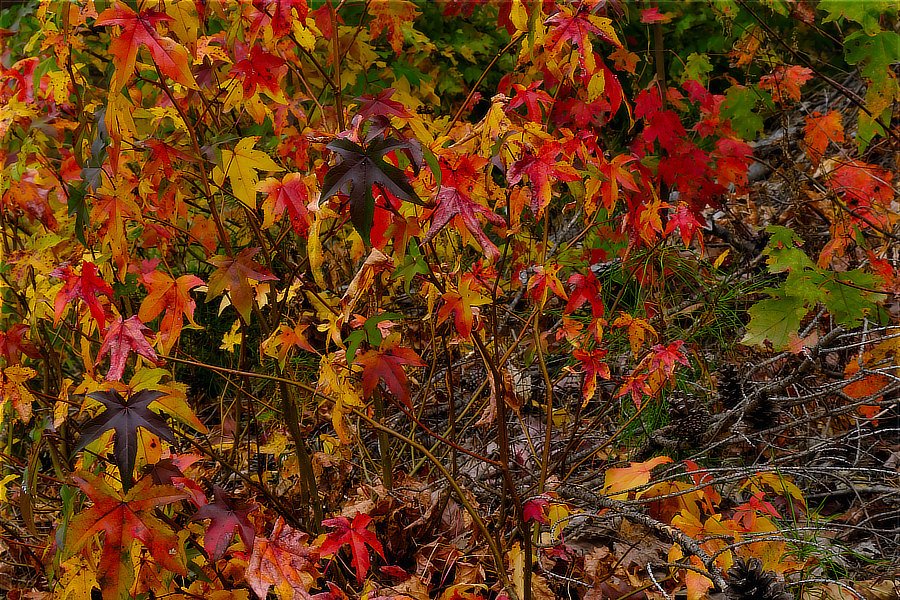
Top: Crossing in Nelson County, Kentucky, USA Bottom: Larue County, Kentucky, USA
-
You will not be able to directly use this as a tethered shooting camera, Fujifilm saves that for the single digit X-T line (X-T2, X-T3, X-T4, X-T5). You can do this in two steps though, use the Remote app to shoot a batch of images, then plug in the USB C cable to your computer and copy those over. Unplug and repeat. When you connect the USB C cable, the camera thinks you are going to transfer data and switches to that mode. .https://fujifilm-dsc.com/en/manual/x-t30/connections/computer/index.html https://fujifilm-dsc.com/en/manual/x-t30/menu_setup/connection_setting/index.html Though it may be just as easy to shoot the images and use a card reader to copy them over to the computer.
-
-
For these requirements, a X-H2 or X-H2s is serious overkill, you could use a X-T4 or one of the older models and record the video and meet these spec requirements. The only kicker is the interlaced video — that is an older over-the-air-broadcast-video type, using progressive scan video came in with the digital video delivery days. You can convert the types, p —> i. If you really need interlaced video, internet search engines are your friend! Here are the specs for the X-H2: https://fujifilm-x.com/en-us/products/cameras/x-h2/specifications/ Scroll down to the video sections, you will be looking for [Full HD] 1920 x 1080 25p, which gives a range of bit rates from the 50mbps to much higher quality bitrates, but note: everything with p after the number means progressive scan.
-
JPEG sizes from Fuji Camera Remote
jerryy replied to skrueger's topic in Fuji X-H1 / Fuji X-H2s / Fuji X-H2
I do not think you are doing anything wrong. The default for the app is to use the camera to make a smaller jpeg suitable for the screen of the device you are downloading the image to (such as a cell phone) and then copy that smaller file to the cell phone or whatever. Unless you change that “Save Org Image” setting in the body, then the larger file will be copied over to the tablet or cell phone running the Camera Remote app. I do not know where that setting is for the X-H2 though. -
Sorry to hear about your troubles with this one; but to try to answer some of your questions, No, this is not common. It is difficult to give a price estimate — that is something repair shops do. However, if you can obtain the parts, a decent computer repair shop can also do that type of replacement and there are camera repair shops usually in larger population centers that can give you better estimates. The $500 you are considering is large compared to the newly bought price of the body, but that is the weird part of having the body price so comparatively “low”. If the body cost $10,000, then $500 for parts and labor seems better, even though it is the same amount of money. And yes, all of the other brands, even beloved ones like Hasselblad also have issues from time to time and the folks on the receiving end do not like it.
-
These are both fairly old cameras, I am guessing you would be buying a used body. Why not get one of the newer bodies? I still use my X-T10, it is a great little camera, but when it comes time to replace it, I think a newer body is a better approach because the electronics are faster in the newer bodies.
-
-
Fuji Rumors keeps up with that sort of speculation; https://www.fujirumors.com/
-
-
Note: 2022/10/24 -- The old image of the Pacman Nebula (NGC 281) was swapped out for a new version. New and Improved.
-
-
Do you have the exposure bracketing set to use burst mode, see: https://fujifilm-dsc.com/en-int/manual/x-t4/taking_photo/bracketing/index.html rather than one at a time mode? Even on a tripod with shock absorbers built into the legs, at ⅓ second exposure times, any slight vibration can work its way up the tripod and affect the image. A tiny footstep can ruin an image. And uh, yes, raising the center column can make it worse. At least, that is the myth. Using burst mode reduces the opportunity time for footsteps, passing vehicles, etc. to affect things. Your X-T4 has very low read noise at ISO 200, you can look at the https://photonstophotos.net/Charts/RN_ADU.htm and see where the results. Can you post samples showing the noise? One with the mechanical shutter and one with only the electronic shutter using the same settings as what you posted in your message? This one way to check you do not have any stuck or hot pixels.
-
It sounds like you have Focus Zoom from Manual Focus Assist turned on. This may help: https://fujifilm-dsc.com/en/manual/x-e3/taking_photo/manual-focus/index.html