jerryy
-
Posts
1,926 -
Joined
-
Last visited
-
Days Won
304
Content Type
Forums
Gallery
Store
Everything posted by jerryy
-
Try it and see if the effect is one you are striving for. Here is some more information about types of ND filters beyond the regular constant ones: https://www.digitalcameraworld.com/buying-guides/best-variable-nd-filters https://photofocus.com/photography/shooting-photography/a-beginners-guide-to-graduated-neutral-density-filters/
-
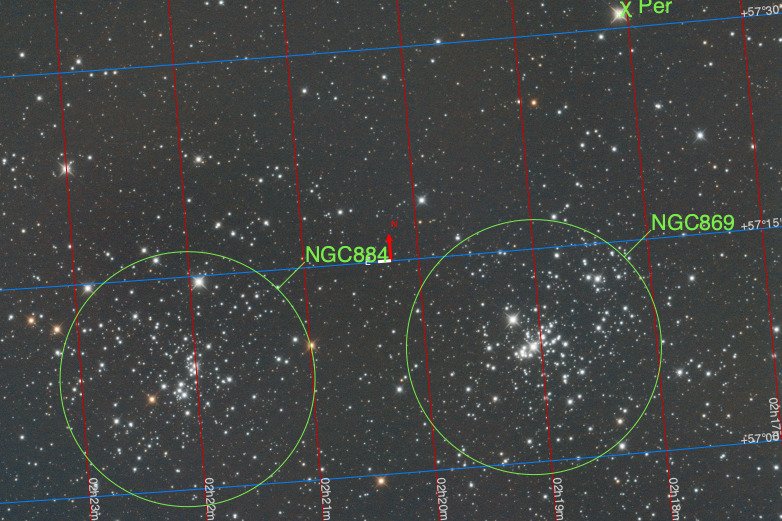
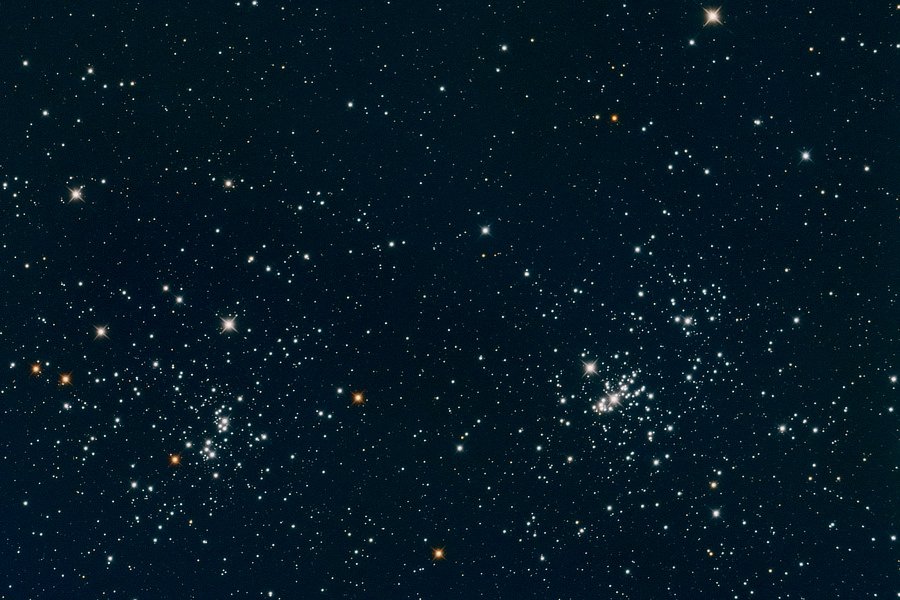
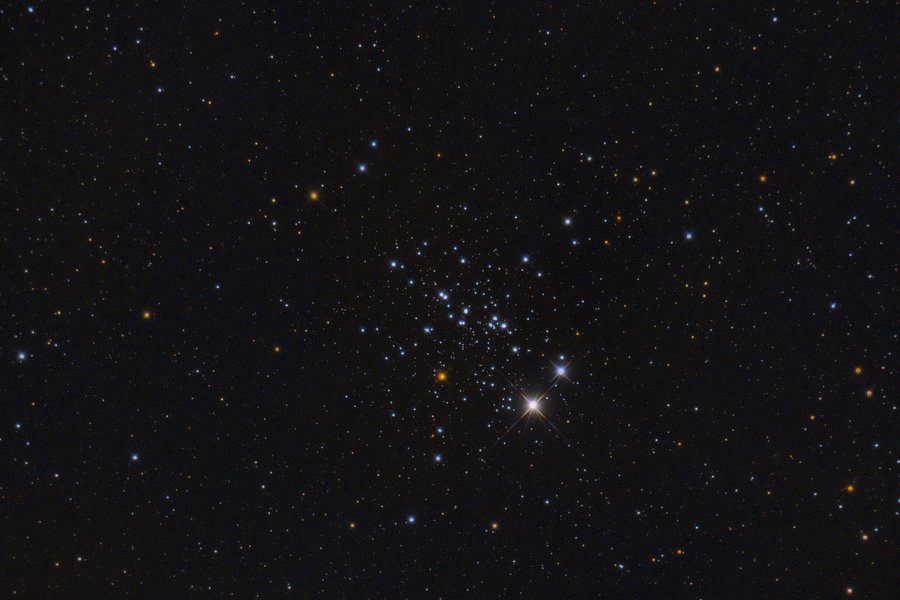
Two for the price of one, ..., Doubling your Cluster fun! Together NGC 884 and NGC 869 form The Double Cluster in the Perseus Constellation (close by the Cassiopeia Constellation). This is the equivalent to a 49 minute exposure. The Double Cluster is popular with the binocular and/or small telescope using observers, and in dark skies it is quite visible just by looking up toward Cassiopeia. https://www.constellation-guide.com/double-cluster/ https://science.nasa.gov/double-cluster-perseus https://earthsky.org/clusters-nebulae-galaxies/double-cluster-in-perseus/

-
I wish there was an easy answer for that one, but that does depend on the the time of day, the season of the year (really!), how overcast the sky is in various directions, etc. Usually, folks carry several different grades up to and including something similar to one called the 'Big Stopper' which is really dark. If you are wanting a ND filter, read reviews carefully to make sure there is no color cast from the filter, these slip out from time to time because of manufacturing practices.
-
Problem with X-S10 Remote Shutter Release
jerryy replied to Peter Jordan's topic in Fuji X-S10 / Fuji X-S20
A lot of us do not have that sort-of new camera, or do not have the accessory for it. Thank you for letting us know a fix is possible. -
You folks are making this way more complicated than it needs to be. "When I shoot a mountain with a rock face under bright sun, XT-4 tends to lose details of the rock structure ...". This means your subject is over-exposed due to the camera settings. Go back to the basics. Try using the camera in manual mode. Set the ISO to the lowest native speed (ISO 160 on the X-T4), set the f-stop to around f14, at least f8, maybe f16 depending the lens. Take a shot at a shutter speed you find comfortable depending on whether or not you have a tripod handy. But before taking the shot, look at the histogram --- you turn this on in the display settings and make sure the graph is not slammed over to the right, adjust the shutter speed to keep the peak over to the other side, but do not slam the graph to the left-hand side either. The display options also have something called "highlight warning" to tell you if you are going to blow out the highlights, use it as well. Take a look at the shot. if you have too much areas still being blown out, you have options: 1.) Lower the ISO into the Low settings, or turn on the electronic shutter and crank the speed up. These can be very useful, but test them first to make sure the results are to your liking, some folks think the resulting look is "digital rather than film-like"; you may not mind it or even see the effect. 2,) If that does not work try using a ND (neutral density) filter on the lens. Those threads on the end of the lens are there specially for attaching the right size round ones, there are other attaching options as well. This method has been the go-to approach since the film days. CP filters have their place and work in a pinch, but if you are trying to get a panorama, part of the sky is often darker than other parts because of how the filter works. The other tools you are discussing have their place but they are not a substitute for getting the first frame as well as can be gotten. if you find the dark part is a little too dark, but the highlights are okay, the dark part can be lifted in your image editing program.
-
Big Bang <—> Gnab Gib 😄 Beautiful!
-
The X-T4 also supports the slower shutter speeds: https://fujifilm-x.com/global/products/cameras/x-t4/feature-video/#:~:text=Video can be recorded to an external device,bit video at a bit rate of 200Mbps. Perhaps you can borrow or rent either of the two bodies to use while working on your project.
-
https://fujifilm-x.com/global/products/cameras/x-t3/feature-movie-recording/#:~:text=The FUJIFILM X-T3 is our first model that,200Mbps bitrate recording when shooting 4K%2F60P 4%3A2%3A0 10bit. Scroll down to the Movie Recording section, the speeds are listed in the chart. I will not be in a good place to try this for the X-T30 for several days, but you may be able to try it there as well. Just change the movie compression type and see what happens. The chart lists speeds down to ¼ second.
-
-
@cpX listed some basic steps for getting the frames, the manual page for the internal intervalometer is here: https://fujifilm-dsc.com/en-int/manual/x-h2s/menu_shooting/shooting_setting/ That body can also use external intervalometers, (you set the shutter to ‘bulb’ and the external gadget takes it from there based on how you set it up). That gives you a wider range of shutter times, etc. than the built-in one does A company called Vello offers many different options, make sure though the jack that plugs into the camera is the correct size, if I recall correctly, it is the 2.5mm size, the same as the ones for Canon cameras. As far as stacking / blending the frames to get the end result image, I do not know if that body offers that option, but from what I have seen in other bodies that do, doing it internally usually discards the beginning and intermediate frames, so if you wanted to go back and redo something, you are out of luck. It maybe better to use other software to do that. Let us know if you have any other questions.
-
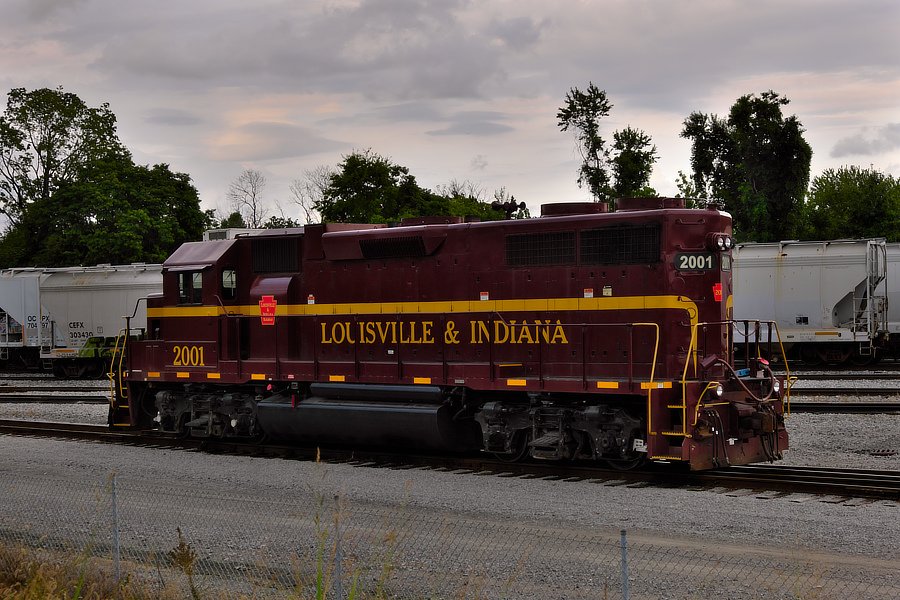
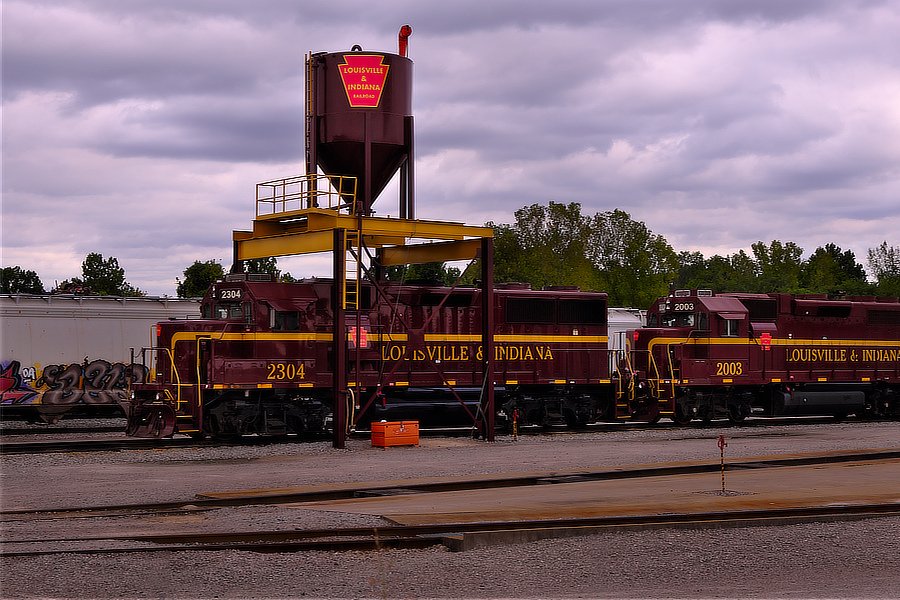
Clark County, Indiana, USA
-
Selecting a Mount Adaptor Setting (1-6 on Fuji X-S10)
jerryy replied to DaveC's topic in Fuji X Lenses
More please! 😀 -
Selecting a Mount Adaptor Setting (1-6 on Fuji X-S10)
jerryy replied to DaveC's topic in Fuji X Lenses
I am glad to hear it is working for you. Show us some images when you can! -
Selecting a Mount Adaptor Setting (1-6 on Fuji X-S10)
jerryy replied to DaveC's topic in Fuji X Lenses
What happens when you try the following? : Attach your manual third party lens, turn the camera on and go into the shooting setting menu to the mount adapter setting. Scroll through the menu choices and leave one of the lens highlighted. Half press the shutter butter or fully press the shutter button. Go back into menus and see what is listed, maybe choose a different lens and repeat the process. If you fully press the shutter button each time, what value does the embedded EXIF information contain? -
Can you list the steps you are trying, (I know that sounds annoying) as thoroughly as you can, including all the menu settings. As well as the distance to the thing you are trying to get the series of shot and the front to back length of distance for the intended series. Here is a quick check list of the steps using AF-S mode to keep things simple. https://www.joengphotography.com/Blog/How-to-Use-Fujifilm-Focus-Bracketing-Feature
-
I think option one is the best approach, i.e. put the card in a reader and let the os tell you what is on it. On a Mac, the card appears as a drive, double click on it to open and you should find some folders inside. Open those and see what you find. The raw files have a .RAF filename ending and the jpeg files end in .JPG, so you can copy these over to your computer and go from there. Linux and Windows do something very similar. Of course, if you are used to command line versions, then go that route, the sd card is handled the same as any other drive. Since your card is made by Sandisk: https://www.sandisk-recovery.com You will need to put your card in a card reader attached to your computer, so you might as well try option one first.
-
Have you tried removing the sd card from the camera, putting it in a card reader and using the computer’s operating system tools to look in the card and see what is on it? Does the camera let you see them when you scroll around in playback mode? There are several recovery programs (apps) specially built for retrieving lost images from cards. You might have even been given a coupon or flier for one when you bought the card.
-
Viewing photos taken in evf?
jerryy replied to BasilBrush's topic in Fuji X-Pro 1 / Fuji X-Pro 2 / Fuji X-Pro 3
These may help: https://app.fujifilm-dsc.com/en-int/manual/x-pro3/basic_photo/photo_view/index.html https://app.fujifilm-dsc.com/en-int/manual/x-pro3/menu_setup/screen_set-up/index.html -
-
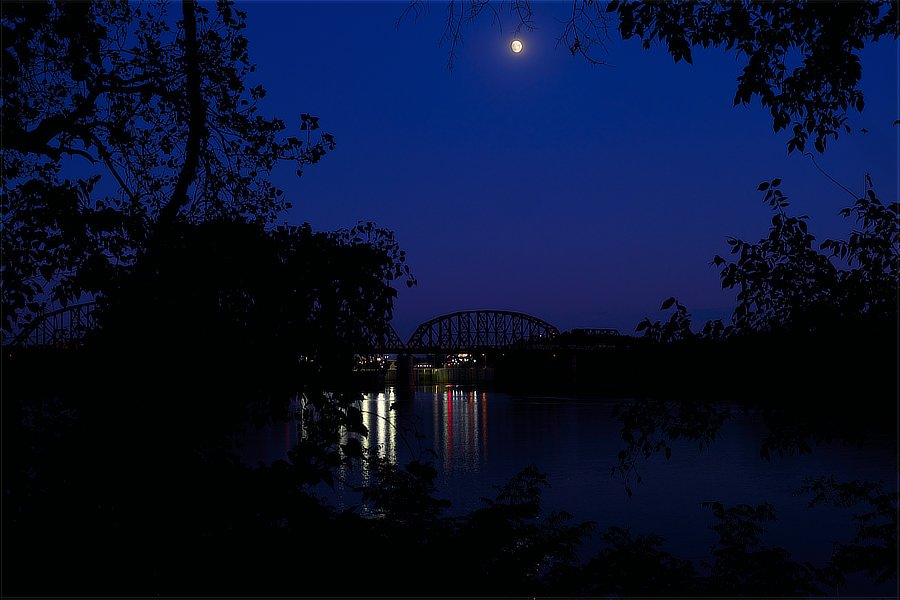
October's full moon is called The Hunter's Moon or The Falling Leaves Moon or ... a bunch of other names. This 2022 October Falling Leaves Moon occurs on October 9, a few days from now. https://www.timeanddate.com/astronomy/moon/full-moon-names.html
-
Focusing problems with Fujifilm X-T3
jerryy replied to Robert Hinchcliffe's topic in Fuji X-T3 / Fuji X-T30
That is a lot, all at once. Normally, it would seem the first thing to do is check to see if there is a problem with the lens or the body. How do you have the camera menus set up? Have you installed the latest firmware for the body and for the lens? Since you have dived into one particular use, maybe this will help: https://www.youtube.com/watch?v=R8XIZ4CVIKI -
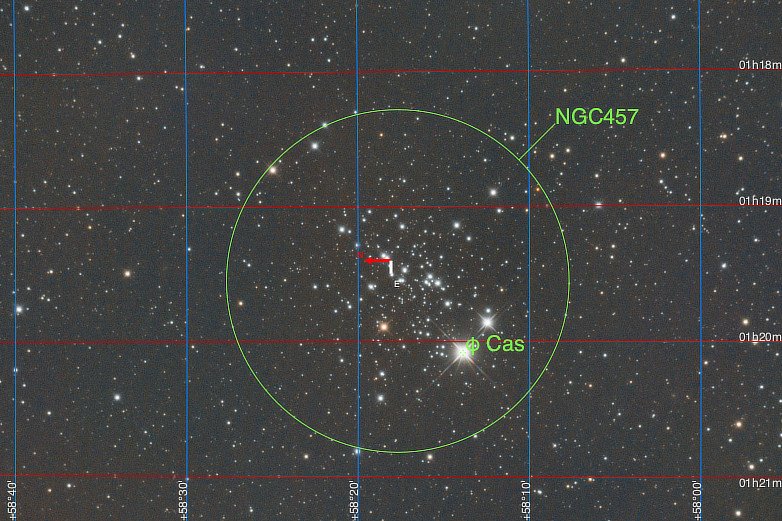
A Dragonfly, ..., An Owl, ...., ET! Located in the Cassiopeia constellation, NGC 457 is known as the Dragonfly Cluster, or as the Owl Cluster or as the ET Cluster. 'Ol Dragonfly can easily be seen in the Northern Hemisphere this time of year with low powered binoculars. This is the equivalent of a 95 1/3 minute exposure. https://freestarcharts.com/ngc-457 https://astrodoc.ca/ngc-457/ https://themcdonalds.net/finding-ngc-457/
-
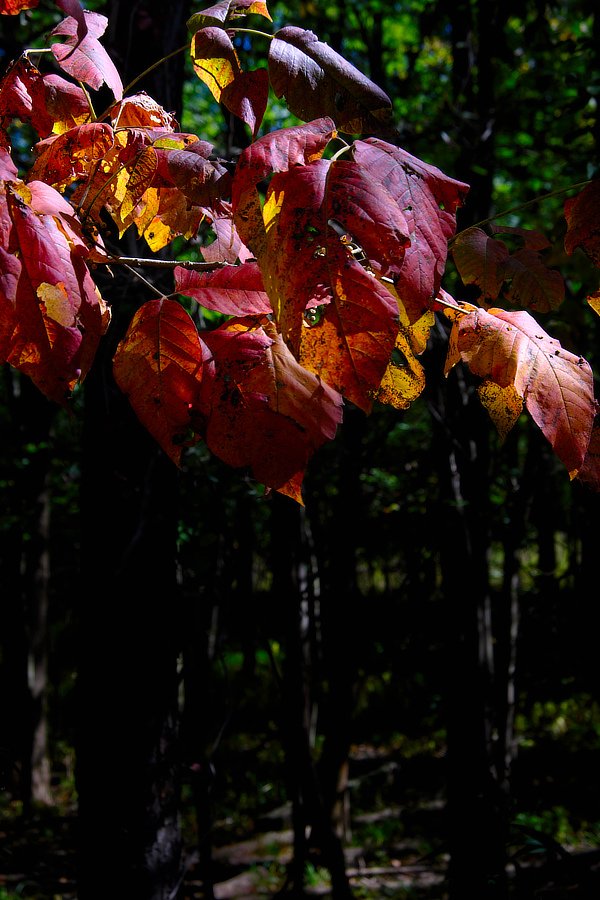
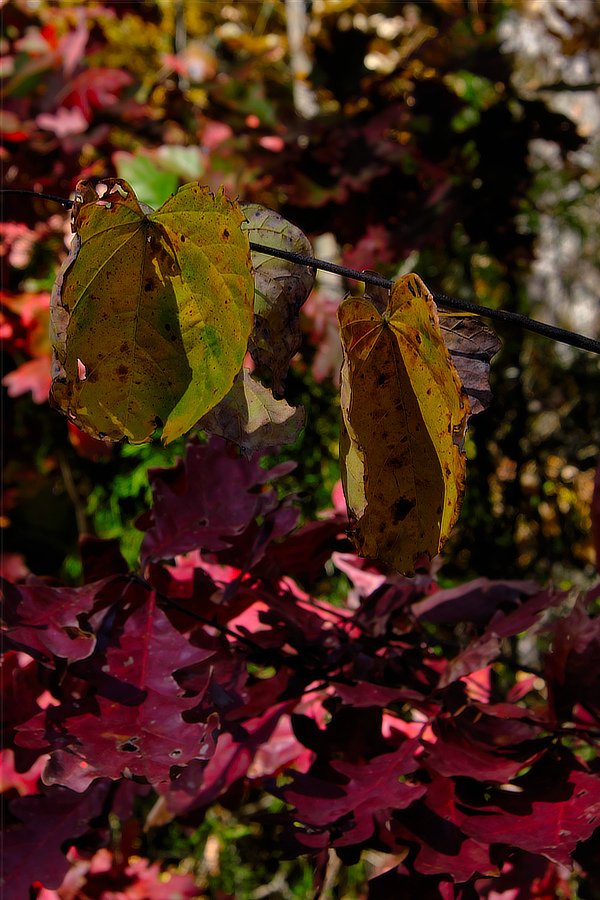
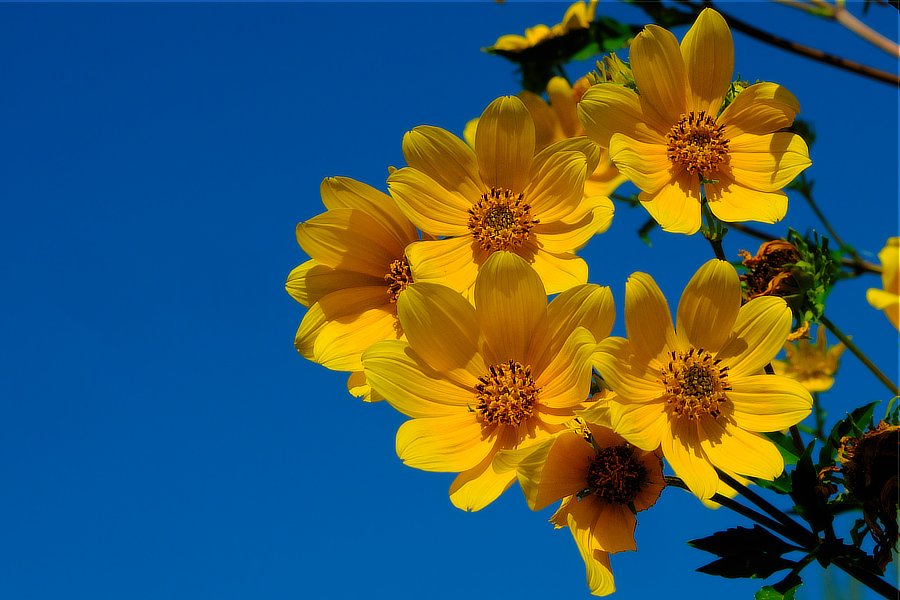
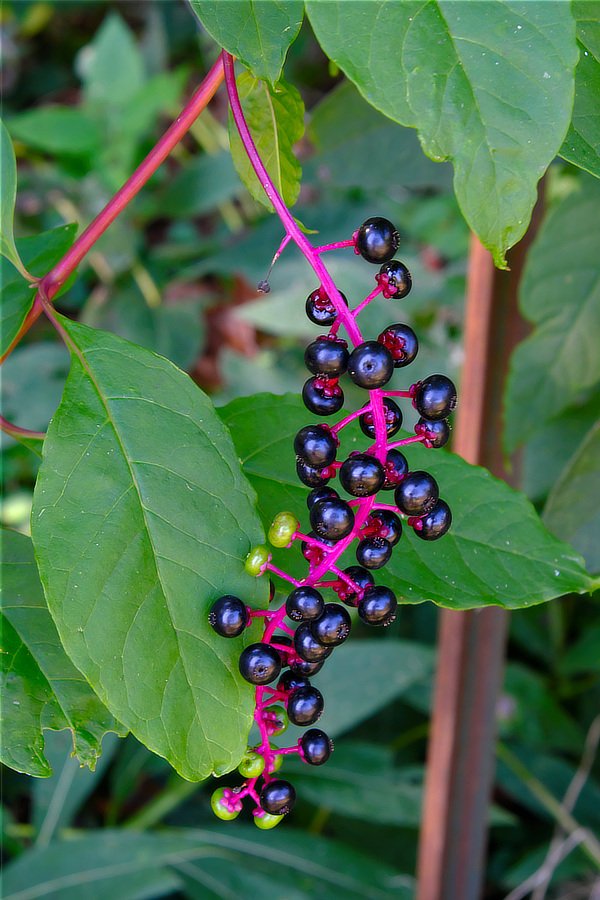
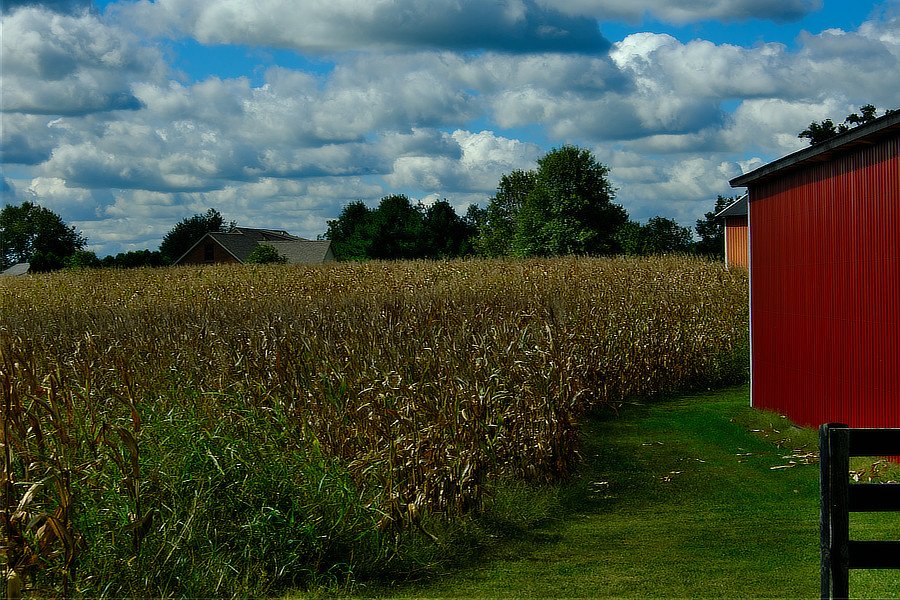
Autumn is here. Here and there, some trees are early go-getters, showing traces of fall colors. Overall though, green color still dominates the trees, and yet, the berry bushes and trees are covered in fruit, the birds are feasting on them and joining flocks to make the trips to winter grounds. Summer crops are ready to harvest.